Have you seen those cute little cupcake liner rosettes floating around? Well, I've been wanting to try them for awhile now (actually bought the liners last year) and I thought they'd be just right for a cute Halloween banner. Yeah, we don't really do too much creepy over here!
All you need to make yours are cupcake liners (available at any craft store),
quick drying glue and pinking shears.
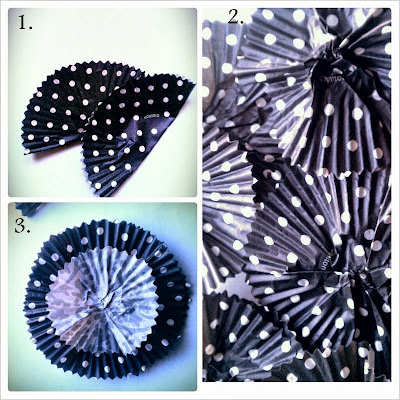
1. First, fold each liner in half and trim with decorative scissors or shears. I used smaller liners on top, but you could always trim down another large liner.
2. Next, unfold the liner and scrunch up the middle (the more you scrunch it, the more pleats you will have). Now, flatten the center.
3. Then, add glue to the center and begin layering the liners. I used two polka dot, one white and black patterned, and then an orange spider web liner.
4. For the center, I punched a scalloped circle out of patterned cardstock, glittered the edges and used Thickers for the lettering.
Here is a closeup, aren't they fun? I will definitely be making more!
Have you used any household items in your crafting?
Thanks for stopping by!
{{Hugs}}
Kimberly


