Friday, December 26, 2014

Handmade Holiday Fair Goodies

Happy day after Christmas!  I hope you enjoyed time with family and loved ones.  Here are some pics of the holiday goodies I sold at my 2 most recent fairs.  I got a lot of great ideas from Kerry's Papercrafts here and added some of my own items that sold pretty well.  I would say the most important  thing I learned is that it takes vending at the same fair a couple of times to get to know the customer base.  After the 2nd time, customers start to remember your brand and will look for your booth. I've also found over time that fair-goers typically go for the items priced $10 and below and they aren't really buying mini scrapbook albums anymore (at least in my neck of the woods).


Since the candy gifts went pretty quickly last year, I added more this time.  So much I decided on a separate display for them. This baker's rack I had did the trick.  I was even able to hang a couple of banners too.


These snowman-wrapped hershey bars are always popular.  Unfortunately the Etsy seller who created the wrapper no longer sells them, but I am sure you can find a similar wrapper online.


People scooped up these hershey nugget-wrapped gift tins for co-workers and teachers.


I tried something new by filling these altered coffee cups with hershey kisses (the peppermint-flavored ones are kinda addictive).  For a tutorial, see my guest post here.

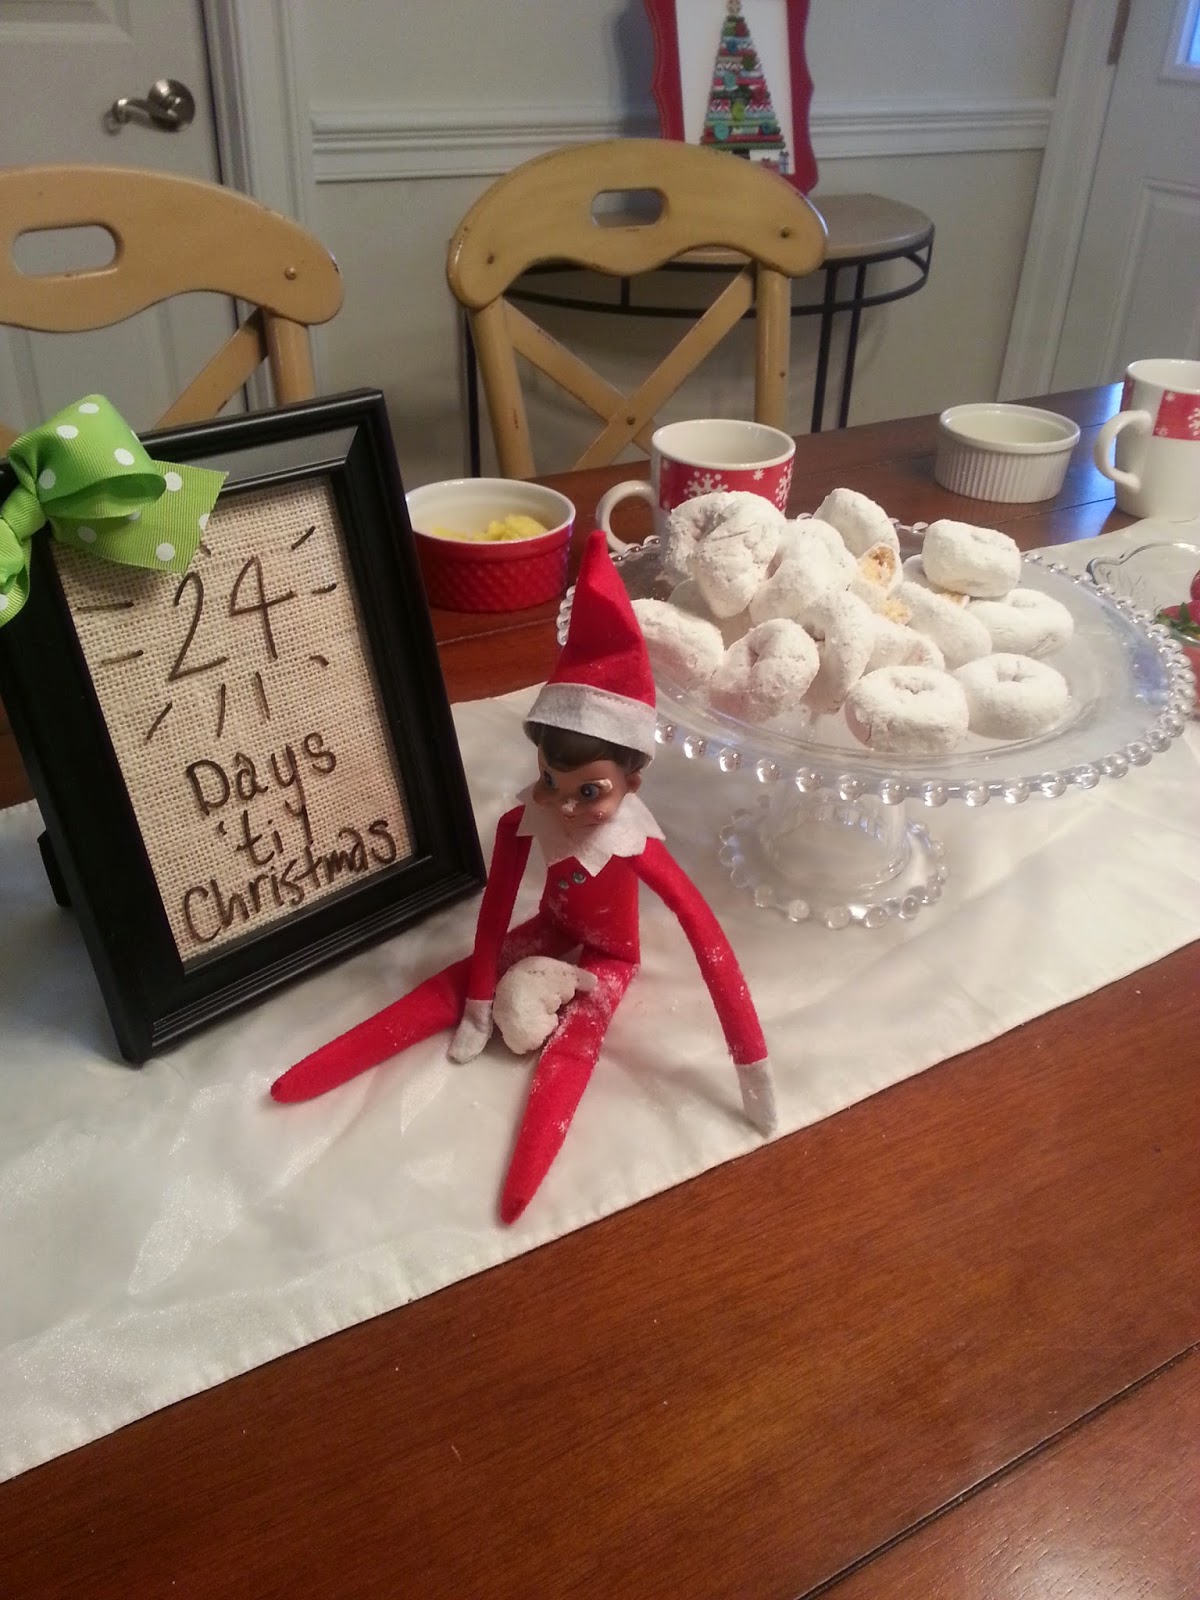
Our elf even joined in the making fun.  I upcycled coffee cup sleeves and leftover scraps of burlaps to make the mini sleeves you see here.


For the gift card holders, I upcycled the front cover of a scrapbook paper pad and adhered it to a scalloped edge square cut with my Cricut.  The card slips into a pocket on the back.


People still buy bookmarks believe it or not!


I came up with these book clips and they were a big hit.


Customers left with their goodies packaged up in a festive polka dot bag and glittered clothespin, courtesy of my 5 yr old.  If there are any tutorials you'd like me to post, tell me in the comments.

What is your best fair tip?

Thanks for stopping by!


Monday, December 15, 2014

Craft Fair Follies ~ When Things Go Wrong

Wrapped up holiday fair season this past weekend at the Gar-Field Orchestra Boosters Craft Fair.  For the first time, I did two winter shows and learned a bunch I want to share!  This first post covers my display and 2nd will show the goodies I made. Set up for the first was so smooth but I hit a few bumps with the second. You don't  find many posts about what to do if something goes wrong, so I am telling you, you can still have a great show if you have a less-than-perfect start.

Having done a couple of shows yearly since 1999, I can say putting the time and effort into a stand-out display yields better results.  This year, having more time to focus on things like booth layout, I knew a backdrop to hang my banner would keep my booth from blending in with the rest.

This is the mock set-up at home before my November show. I ordered the photography stand from Amazon and used two pieces of jersey-like fabric from the trift store to drape over it.   Looks great, yes?  And it looked wonderful for the 1st show. People complimented my display and I sold more than at any previous event.

Then, a week before my December show, life happened.  I usually try to finish up making items at least 3 or 4 days ahead of time.  But, with a sick baby girl home all week, I needed to stick close by her, so I crafted right up until the last night.  Tired as all get out, the morning of the show, I didn't  arrive early enough and rushed in setting up.  I also didn't have my cutie pie daughter to help. Needless to say, I wasn't as organized as before and forgot some key items like the cash box, the CASH, the basket for my journals and that pretty white tiered basket.

So, what did I do?  Improvised!  I used the basket I keep my wrapping supplies in to hold the journals.  I converted one of the black mini suitcases to a cash box and tucked the tins in a little box on the shelf.  Hubby ran to the nearest bank, got more change AND stopped at the dollar store for more basket shred for the larger journal container.  Had this been a couple of years ago, I probably would have melted down, but this time, we just rolled with it.


You can see the display isn't  as neat as the mock up but I made it work.  I kept a great attitude and planted a smile on my face.  A little laughter goes a long way.  Thankfully, a good friend showed up and kept me grinning and enaging the customers too.

No one even knew the display wasn't  what I envisioned :)  

Any funny craft fair experiences to share?

 Thanks for stopping by!

post signature

Thursday, December 4, 2014

Oh Christmas Tree!!


Who doesn't love a little handmade for Christmas? I have 2 wonderful projects that are thrifty, relatively easy, and quick!  They are a rolled paper Christmas tree in a frame, and a DIY burlap dry erase board.

 I have seen several versions of rolled paper Christmas trees and wanted to try one myself.


You will need:

Paper scraps 
Paper cutter
Frame or canvas
White card stock to fit frame
Glue gun and/or craft glue
Embellishments like buttons and tree topper

First, I cut my cardstock to fit my frame (8 x 10) and put it in the in place of the glass.  Then I cut my largest strip of paper about 2 inches smaller in width, so 6 inches wide and about 1 1/2 to 2 inches long.  I rolled the paper around a pencil, as tightly as possible and used hot glue to secure the end.  Then, removed the roll from the pencil.

Cut each of the remaining strips a 1/4 inch smaller in width than the previous one, so 5 3/4, 5 1/2 etc.    I used about 19 strips, but you can play with the height until it's just right for you!  Once you have your strips rolled and secured, adhere them to your cardstock.  I used Tombow multi liquid glue.  Then, add your accents!


The second is a dry erase board made from a dollar store frame, scrap burlap, and ribbon. Just cut your burlap to fit the frame opening.  Open the frame and place the burlap behind the glass.  Close the frame and add your bow or whatever embellishment you like.

Whether you gift your altered frames, or keep them for yourself, they can be cute additions to any Christmas decor.

Supplies not mentioned above:
Christmas paper: Me and My Big Ideas Ellen Krans Mambi Sheets
Tree base: chocolate brown felt with red/white twine
Stickers: Recollections

Happy gifting!

Kimberly


post signature